29. November 2017
How to connect the NAV iPad App to your NAV Container using a self-signed certificate
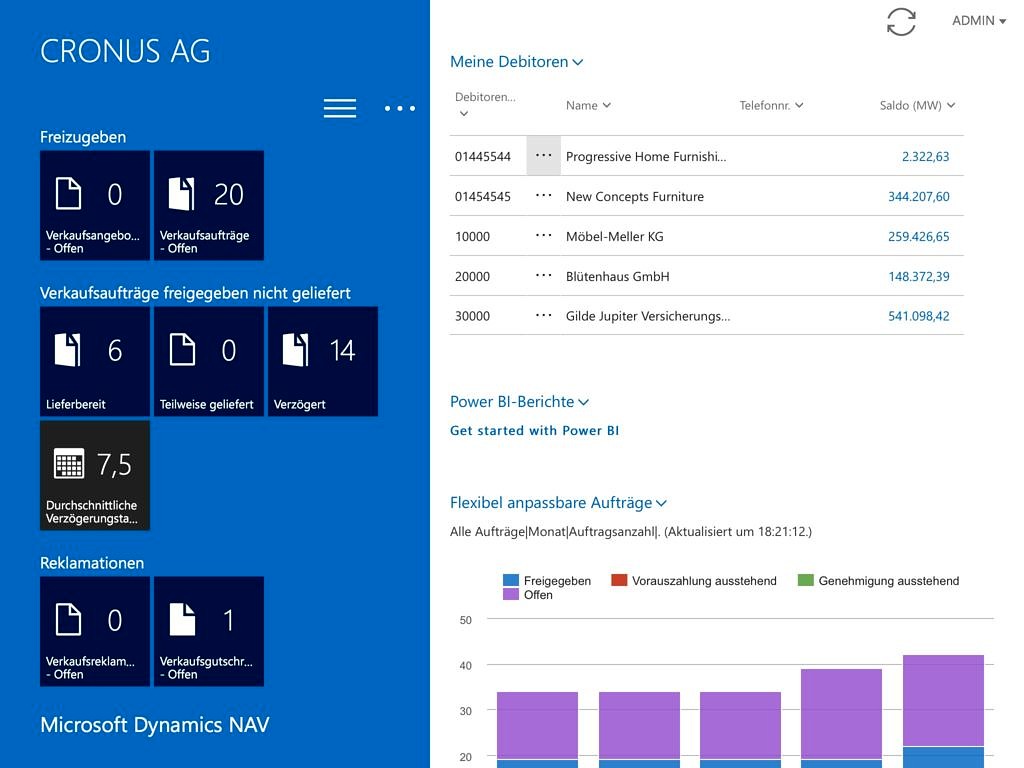
As you probably know there is a very nice NAV App for iOS (and Android). For very good reasons this App however only connects to NAV WebClients secured by https. This is no problem using a NAV Container as it will by default also serve an https-secured WebClient. However if you don’t use an official certificate and instead just let the Container create a self-signed one, you will still get a connection error by the App. This is also true if you use a „traditional“ install of the WebClient outside of a Container with a self-signed certificate1.
The problem is easily solved with the following steps. There are a number of blog posts about it including this one by Microsoft and this non-NAV related one by Vincent Lynch but I didn’t find a simple step by step explanation and as I today had to find out how it works, I decided to share it.
- Run your Container, e.g.
1
docker run -e accept_eula=Y --name ipadtest --hostname ipadtest.global.fum --network MyTransparentNetwork microsoft/dynamics-nav:2017-cu12-deAs you can see, I am using a fully qualified hostname and a transparent network to make the connection easier, but depending on your situation, you might have different needs
- Wait until „Ready for connections!“ appears. You should see a log similar to this:
1234567891011121314151617181920212223242526272829
Initializing...Starting ContainerHostname is ipadtest.global.fumPublicDnsName is ipadtest.global.fumUsing NavUserPassword AuthenticationStarting Local SQL ServerStarting Internet Information ServerCreating Self Signed CertificateSelf Signed Certificate Thumbprint 891BC16763888D9823B9478AEA87B011821D16CDModifying NAV Service Tier Config File with Instance Specific SettingsStarting NAV Service TierCreating Web SiteCreating NAV Web Server InstanceCreating http download siteCreating Windows userEnabling SACreating NAV userContainer IP Address: 10.111.95.12Container Hostname : ipadtest.global.fumContainer Dns Name : ipadtest.global.fumWeb Client : https://ipadtest.global.fum/NAV/WebClient/NAV Admin Username : adminNAV Admin Password : Jota1878Files:Initialization took 83 secondsReady for connections! - Use Safari on your iPad to connect to the URL of the certificate, which you can find almost at the end of the log file, in my case
- This will start the so called profile import of iOS. You will need to go through that wizard and install the certificate
- Since iOS 10.3 you also need to trust that certificate explicitly as described in Vincent’s blog post and I am quoting it here:
- Open Settings.
- Navigate to General and then About.
- Select Certificate Trust Settings.
- Find your certificate and enable trust with the toggle on the right
- Now open the NAV App and enter the WebClient URL without the „WebClient“ part, in my case
- Enter username and password as you also find in the log and you should be connected!


